How to Drill Through Tile :: Video – DIY Home Improvement Essential Skills
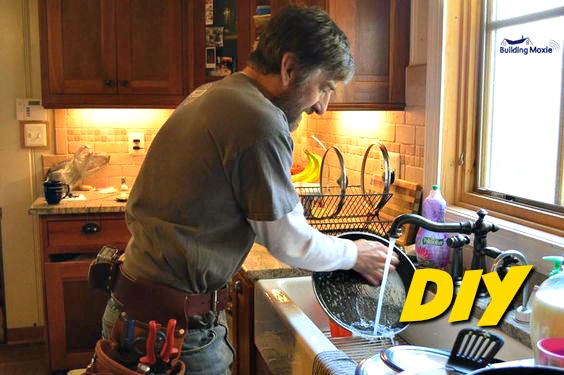
When you work in bathrooms, the occasion will arise when you will need and want to mount something into tile. A little intimidating perhaps, but really, with the right tools and a...